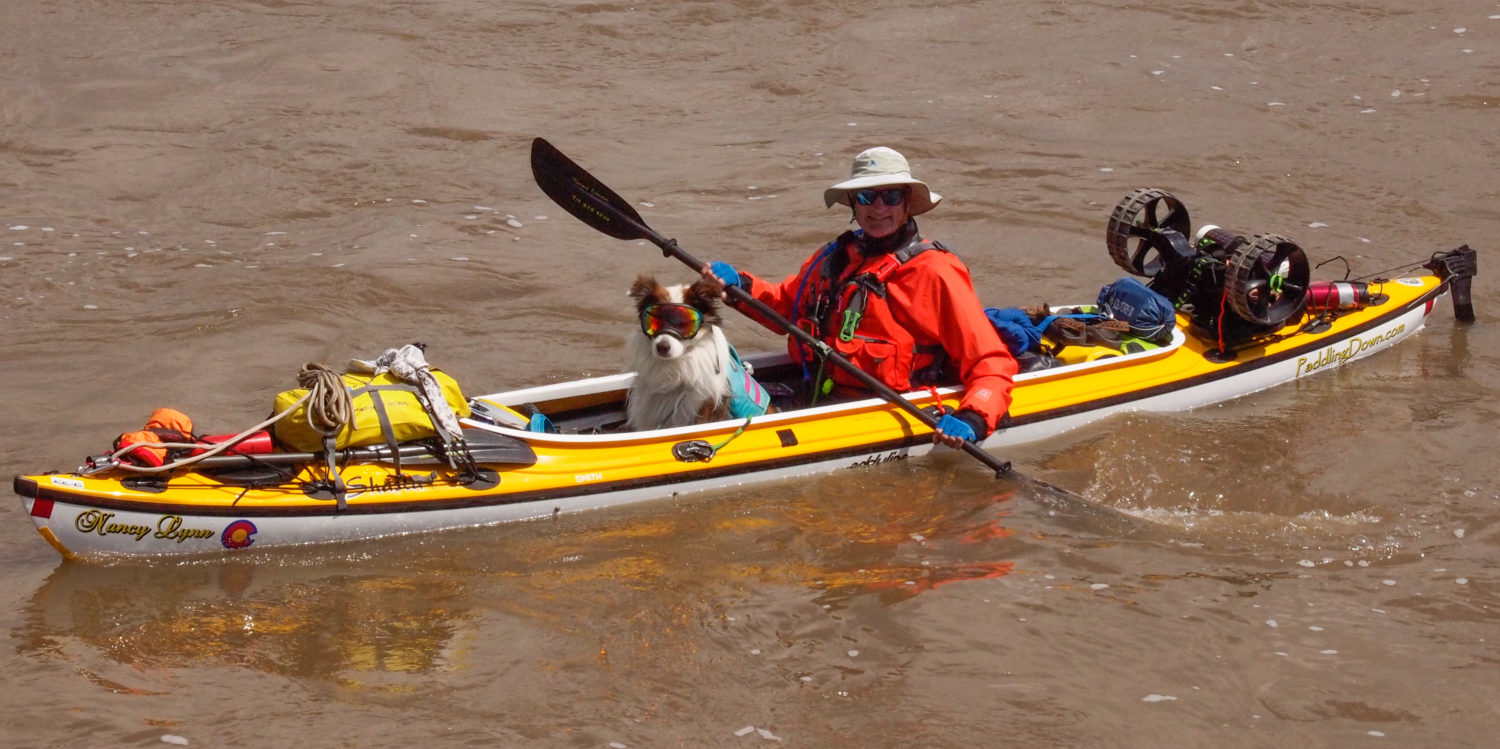
It’s a river – it starts in one place and ends in another. How much more straight forward can it be?
I love maps and the planning that goes into any adventure that I undertake. Back in the day, I relied on paper maps and guide books to plan adventures. Today, planning has radically changed due to the internet revolution.

Historic Lewis and Clark Map
I still love to pour over paper maps, and I feel they are a critical part of planning. Laying a paper map out on the table helps one gain perspective and get a good overview of the land to be traveled. For this trip, my main paper map source has been standard road atlases and park service maps.
Enter the digital age
The river starts in Three Forks, Montana and ends in Saint Louis, Missouri, and the river sets a defined route. That part is easy, I put on the river at Three Forks and take out at Saint Louis. Going down this river for months will be much more complicated than just going with the flow.
Add the logistics: the biggest one being re-supplies, dam portages to plan, reservoirs to cross, places to camp, emergency take outs, veterinary clinics, and places where I can sleep in a bed and recharge batteries. I want to map all of this out before I embark on this journey so I made my own map.
Through a Missouri River Facebook page, there is a good bit of digital map data available. I took all this data, pulled it into Google Earth, and cleaned it up. It included river miles, camps, and ramps.
I did this by converting all the data to Google compatible KML files using an free GPS data application called GPSbable. GPSbable is strictly a GPS data conversion utility. This application is a must have if you use GPS data from different devices. Once converted, I loaded the river mile data into Google Earth to provide me key reference points for locations along the river and to provide a common reference for talking with others.

Google Earth with markers added
I then converted and loaded available camps and ramps data into Google Earth.
With this data loaded, I was then ready to start building my own geo reference database for the trip. I started by locating any stops that had been recommended through all available sources.
Now came the tedious part, I traveled the river from start to finish using Google Earth. My goal was to mark all points of interest or concern. Google Earth provides high resolution earth imaging so I literally was looking for unique land features.
This included, additional ramps, unmarked take outs for dams, marinas on both the reservoirs and the lower segments of the river, possible good camping locations, grocery stores near the river, veterinary clinics, and location of historic interests and recommended stops. I traveled each reservoir and created waypoint markers for the crossing point of larger bays on the reservoirs. I will use these crossing points to aid in open water crossings.
With all this data cataloged in Google earth, I then proceeded to again travel up and down the river 5 more times cleaning up the data and looking for any sites I missed or duplicated.

Backcountry Navigator with data loaded
With the data created I exported in from Google Earth to a number of specific waypoint files: river miles, camps and ramps for the three different segments of the river, scenic and historic stops, grocery stores and veterinary clinics. This data will be loaded into my GPS application on my phone Backcountry Navigator, my old Garmin GPS, and an android tablet.

Waypoint details with notes
I am still bringing along paper maps and a compass because you never know what might happen.
